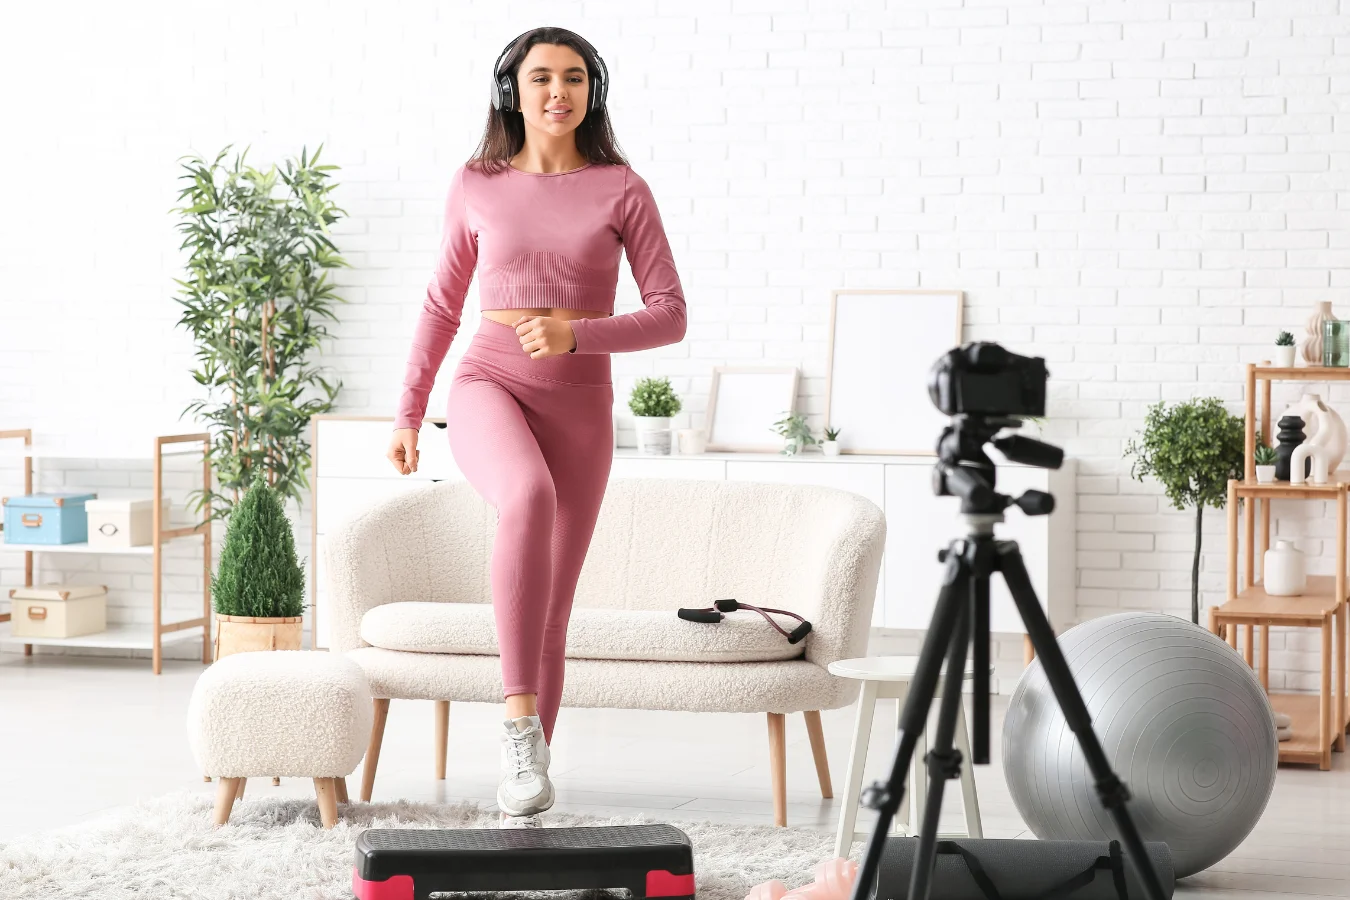
If you’re a personal trainer who is not using video content on your socials and in your marketing, you’re missing out on a fantastic opportunity to reach more people & gain new clients.
In fact, by the end of 2022, online videos will make up more than 82% of all internet traffic, and 72% of customers said they would rather learn about a product or service by way of video.
A video can quickly provide the user with lots of information in a fun and engaging way, making it a valuable tool for conversion.
In addition, a video can help potential clients understand exactly what services you offer, be blown away by your expertise in the field, and fall in love with your personality and what you stand for.
Now you know why you should use video and have some ideas for filming, how do you get started on the technical side of things?
We’ve put together 10 of our best tips to consider before starting.
Ideally, you want to shoot in HD or 4K (even better). The better quality the camera, the easier it will be to make your content look professional with minor editing.
However, if you don’t want to invest just yet, mobile phones now tend to have HD or 4K cameras which will work fine if you’re just starting out.
Check out the eight best cameras for filming exercise
A ring light/stand makes filming a lot easier as you can adjust the light's height, angles, and brightness/tone, and they are usually portable.
A ring light also helps when filming in darker locations or when the lighting isn’t excellent. Just be sure to test this to make sure the light isn’t too bright and becomes unflattering.
If you do not have a ring light, ensure that any natural or artificial light is in front of the subject rather than behind, as this will cause the subject to look like a shadow.
We have used this LED light ring previously and recommend it as good for your first one, or if you are on a budget try this light ring.
Although we love authentic content, planning the video beforehand and knowing what shots you need and what you’re going to say will save you a lot of time when filming and editing! Here are some ideas to help you prep for each video you make:
This seems obvious, but when you set up your camera, be sure to have the focus/subject of the video in the center of the screen.
Whether you are talking to the camera or a one-pot recipe pan in the middle, doing this will make it easier for you to edit the video in different sizes for different platforms.
If you’re filming in a busy gym and need to talk through anything, it might be a good idea to invest in a microphone to help reduce the background noise.
You can get great mics that clip onto your top and can even plug into your smartphones.
Check out this really helpful microphone buyer’s guide for inspiration.
Where you can choose a location to film in that makes sense with the topic of your video and ensure that it isn’t too busy and there aren’t too many distractions going on around you.
If you do decide to film in a private location, make sure you get permission.
Since you’ve already got everything set up, you might as well film a couple of different videos so that you have a bank of video content.
Then, just change your outfit and/or hairstyle, and it will look like you’ve filmed it on a different day!
Spend a little time before filming to take some test shots to know precisely what the outcome will look like and what you might need to change.
This is particularly useful if you are filming on your own. Just make sure the picture and audio are clear within the test shots.
There is nothing worse than looking back at your footage after you packed everything away and you’ve either missed something or made a mistake and only have that one take.
Shooting multiple takes provides a safety net and allows you to choose the best clips for your final video.
Even if the first take is perfect, take another just to ensure that the final video is exactly what you want.
This is probably the most important one. You will get much better engagement from your followers/clients if you are authentically you - your personality is likely one of the reasons a client will start working with you anyway.
Following the steps below will put you into a great space to start making your first piece of personal trainer video content.
But remember, the key is to keep on making videos. Doing this will give you the confidence to create video content that shows off your personal trainer brand.
Ready to join the family?
We'll get you up and running in no time. Start with our zero-risk free trial and build your personal training empire today.